Choose Your Source Photo
Upload a decodable image up to 20 MB. Use a clear source where the unwanted object is easy to distinguish from the subject. Store the original separately before making a retouched version.
 Transparent Background Maker
KEEP THE SUBJECT. LOSE THE DISTRACTION.
Remove an object from a photo when a cable, stray cup or background prop pulls attention away from the subject. Mark the distraction with a brush, review the reconstructed area and save the image without cutting down the frame.
Free · No account · Images up to 20 MB · PNG download
AI reconstructs the marked area, not the original hidden pixels. Transparent areas are flattened onto white.
FOUR CAREFUL STEPS
Upload a decodable image up to 20 MB. Use a clear source where the unwanted object is easy to distinguish from the subject. Store the original separately before making a retouched version.
Brush over the object you want removed, including its edges. If its shadow is also unwanted, mark that too. Use narrow strokes around furniture edges, product outlines or other details that must remain outside the selection.
Start removal and complete human verification if requested. AI reconstructs the selected region from surrounding context rather than leaving a transparent hole. Check straight lines and repeating textures carefully when the result appears.
Compare the edit with the original, looking for fragments, duplicate textures or a leftover shadow. Adjust the marked area and retry if necessary. When the result works for your intended use, download the edited photo as a PNG.
SMALL EDITS, PRACTICAL USES
Illustrated cleanup examples, not measured results from this editor.
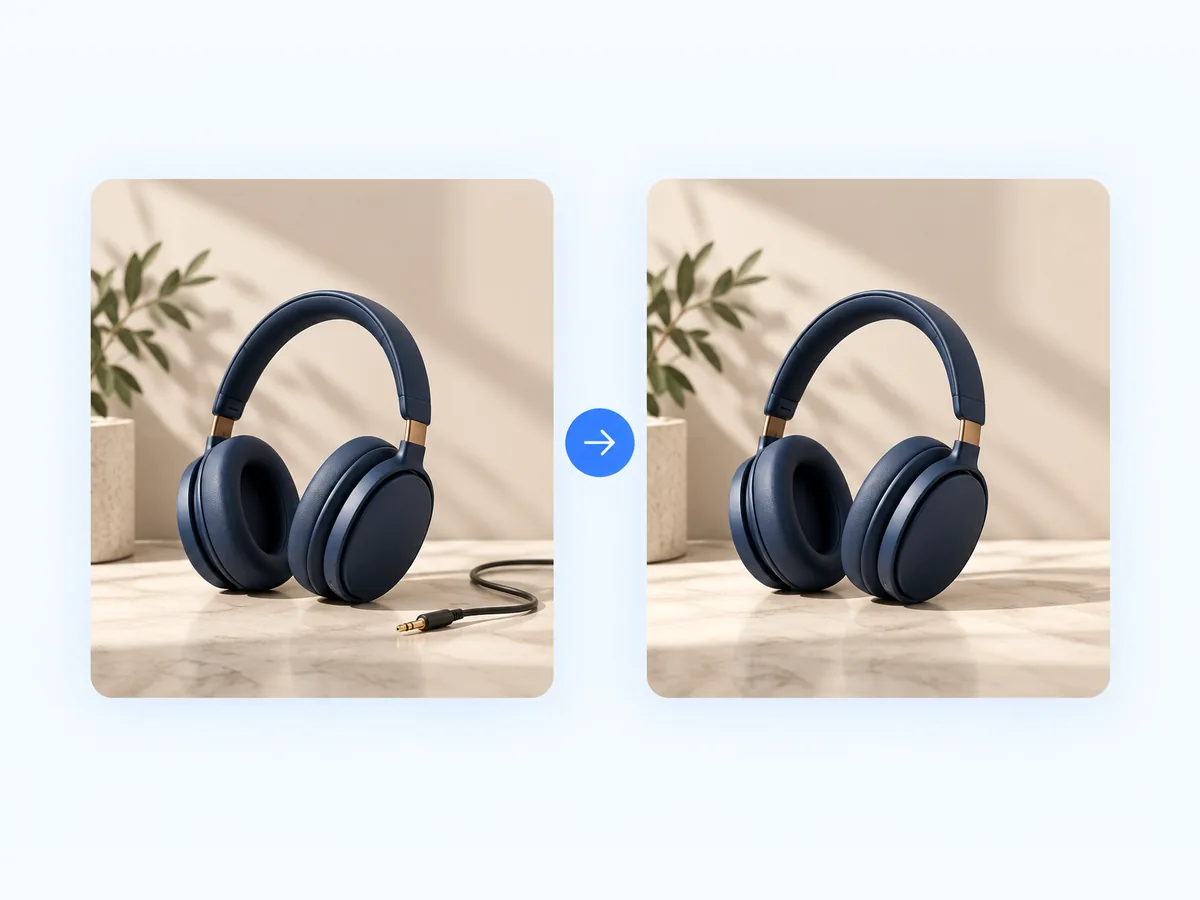
Remove a spare clip or loose cord beside your product so the item is easier to read. Keep all included accessories and any wear or damage visible when selling something; editing should improve the presentation, not change the offer.
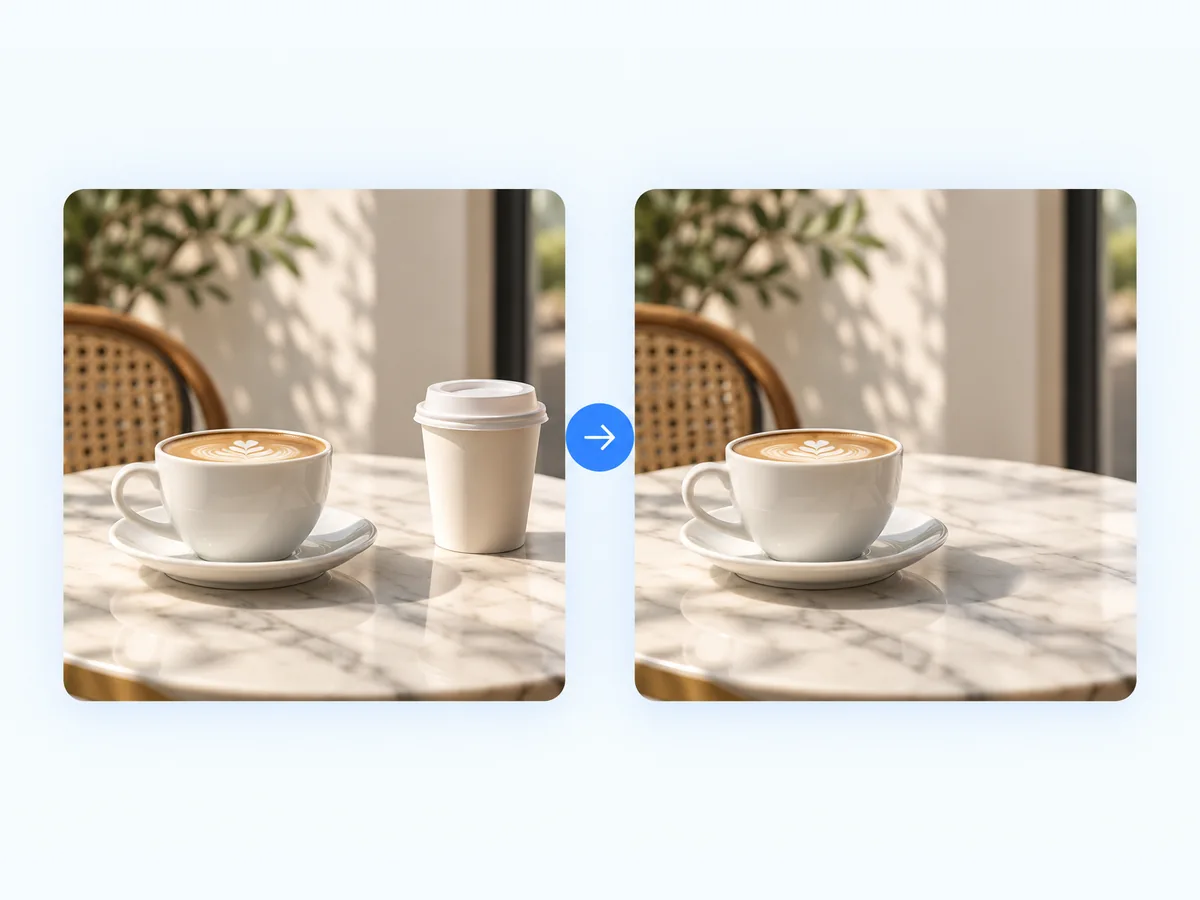
Clear a forgotten takeaway cup from a café tabletop or home scene. Small isolated objects on plain surfaces are useful first edits. Include an unwanted cast shadow in the selection so it does not remain after the cup is gone.
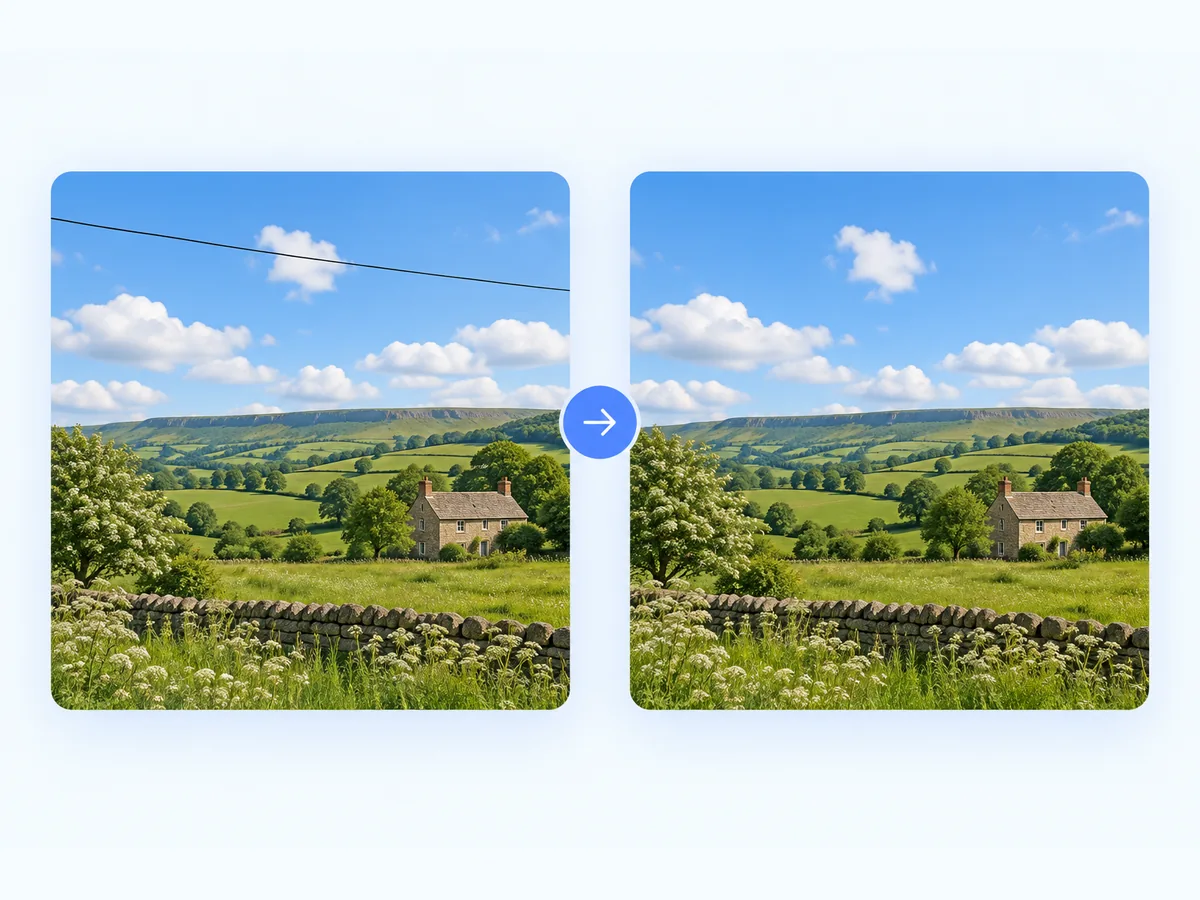
Brush along a distracting overhead wire in a landscape while keeping buildings and branches outside the marked area. Use a small brush where the line crosses a detailed edge, and check the sky for a visible seam afterward.
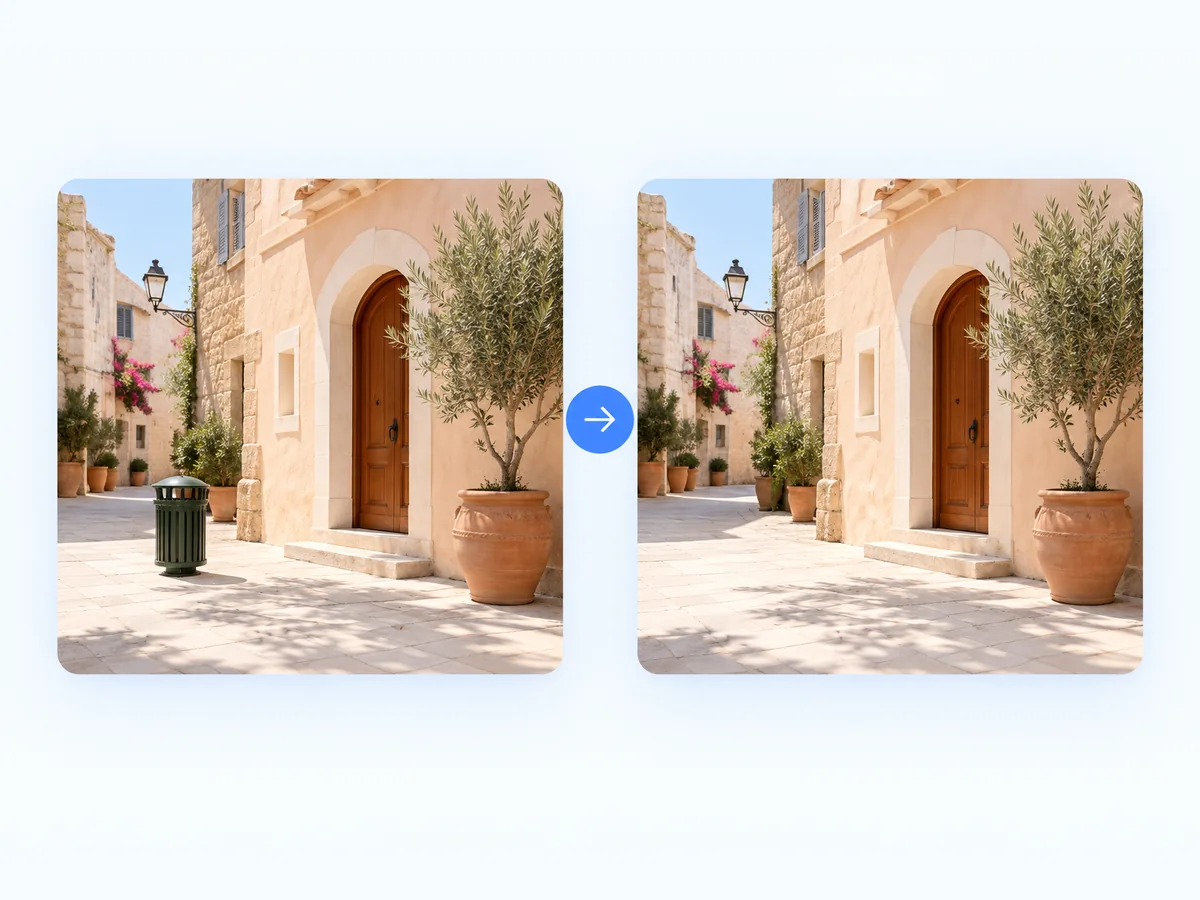
Try removing an isolated bin or temporary sign from a travel photo while retaining the full framing. Brickwork, paving and railings can be hard to reconstruct convincingly, so inspect those structures before sharing the retouched version.
Object cleanup fills the area you select while retaining the surrounding scene. Use it for a small distraction; choose a background-removal tool instead when you want to isolate the subject or replace the whole environment.
Follow a thin wire or mark an irregular prop yourself rather than depending on automatic object detection. A careful selection helps separate the distraction from important nearby edges, especially when the two touch.
A free workflow with no account lets you check the result before downloading a PNG. Compare the rebuilt texture with the source, and keep a version you can revert to if the edit introduces a distracting artifact.
FAQ
To remove an object from a photo, you mark a local distraction and fill its location. Background removal separates the main subject from the entire background, usually creating transparency. Choose cleanup when most of the original scene should stay.
If the shadow belongs to the object you are removing and should disappear too, include it in the selection. Avoid marking shadows cast by parts of the image you want to keep. A leftover shadow can make the cleanup look incomplete.
You can mark thin distractions manually. Choose a narrow brush and cover the entire line, then inspect any points where it crosses buildings, leaves or other detailed edges. Those intersections can be more difficult than the open sky.
Repeating patterns and straight lines are difficult reconstruction targets. The fill is a plausible replacement, not a recovery of hidden bricks or tiles. Refine the selection and try again, or use an original photo without the obstruction when exact geometry is important.
You can brush over more than one area, but avoid covering large parts of the scene unnecessarily. Start with a small isolated distraction and review the result. For difficult photos, work carefully rather than expecting an entire cluttered room to be rebuilt accurately.
The editor accepts images it can decode, up to 20 MB, and prepares them locally at their original dimensions. Cleanup flattens transparency onto white. Animated or multi-page files use the first frame or page. No account is needed, and the finished download is a PNG. Keep your original if you need an unaltered record.
YOUR NEXT EDIT
A prop, a caption and a whole backdrop need different selections. Move to a focused tool when the edit changes, rather than brushing over more of the image than necessary.